注意:以下文档只适用于TOP接口,请谨慎使用!


注意:以下文档只适用于TOP接口,请谨慎使用!
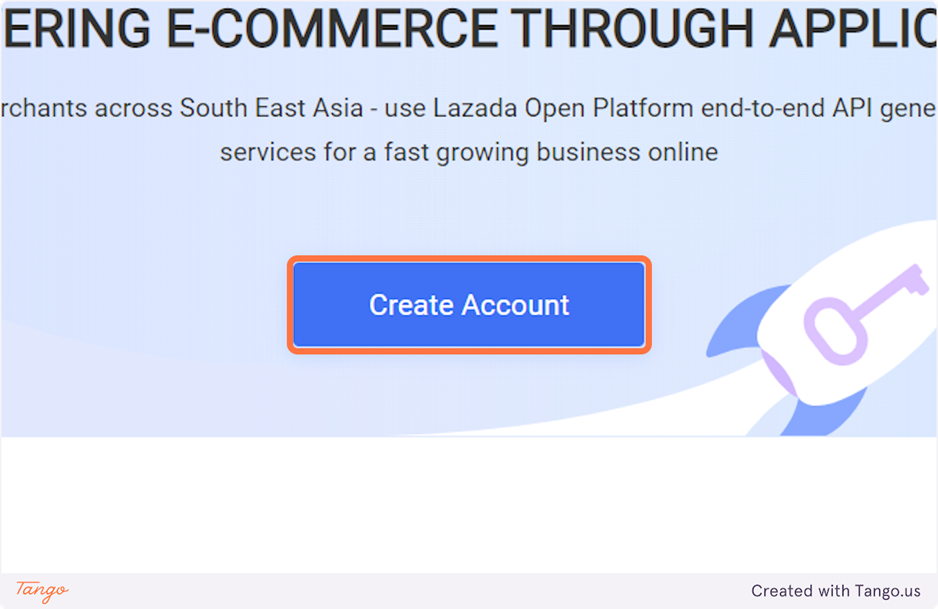
2. Click on Create Account, if you already have an account you can skip to Step 9
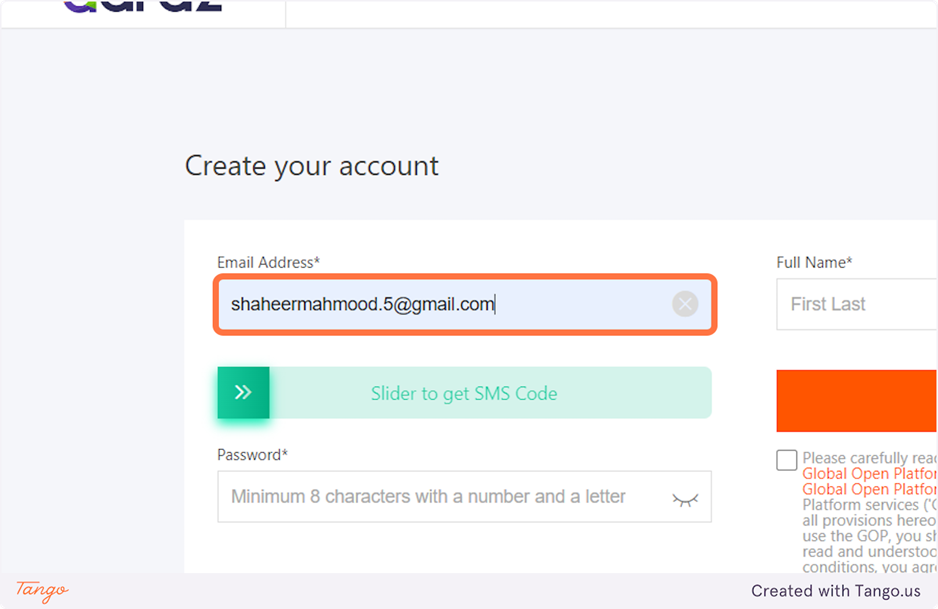
3. Enter your email address and drag the slider to get a code on the email that you entered
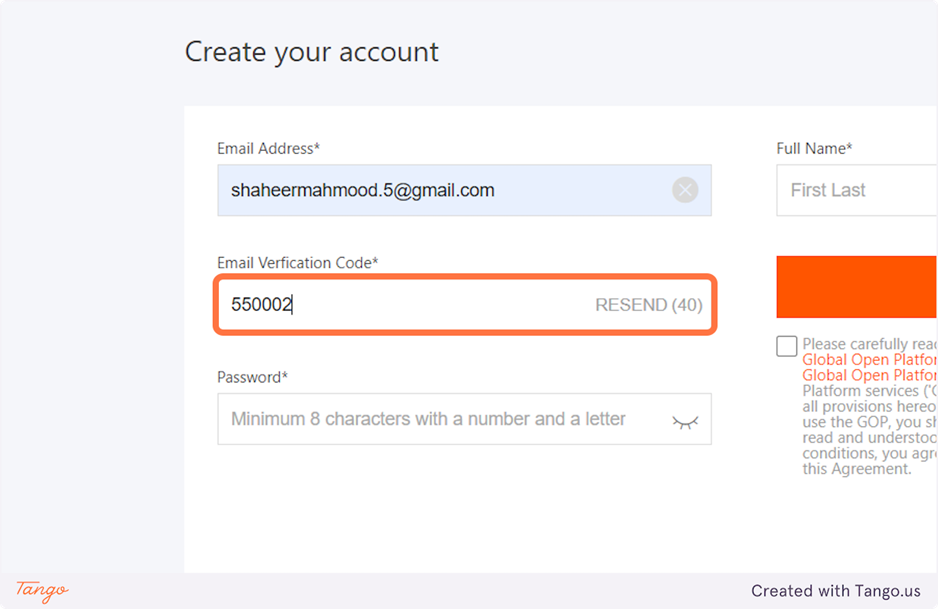
4. Type in the Email Verification code received on the email address
5. Enter a Strong Password

6. Enter your Full Name
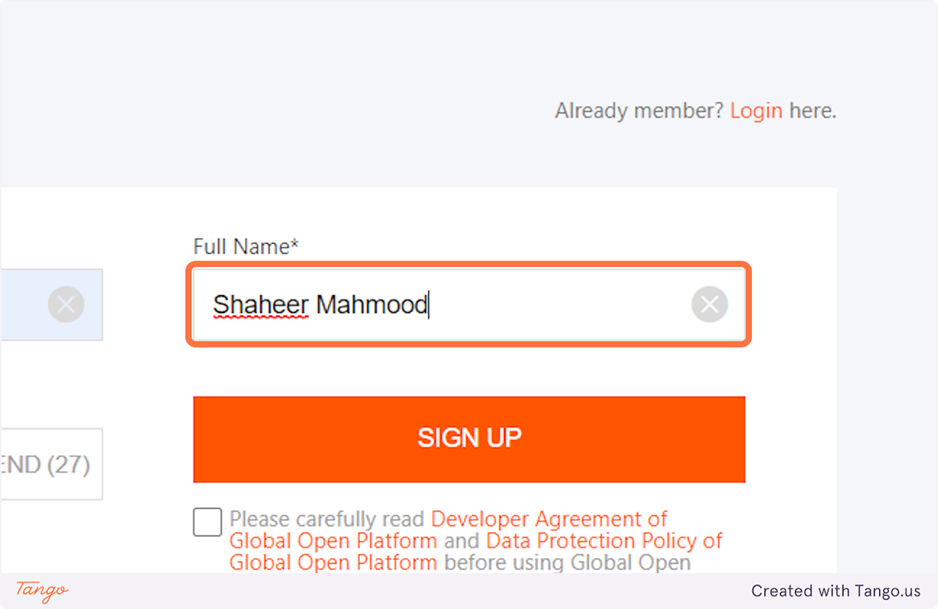
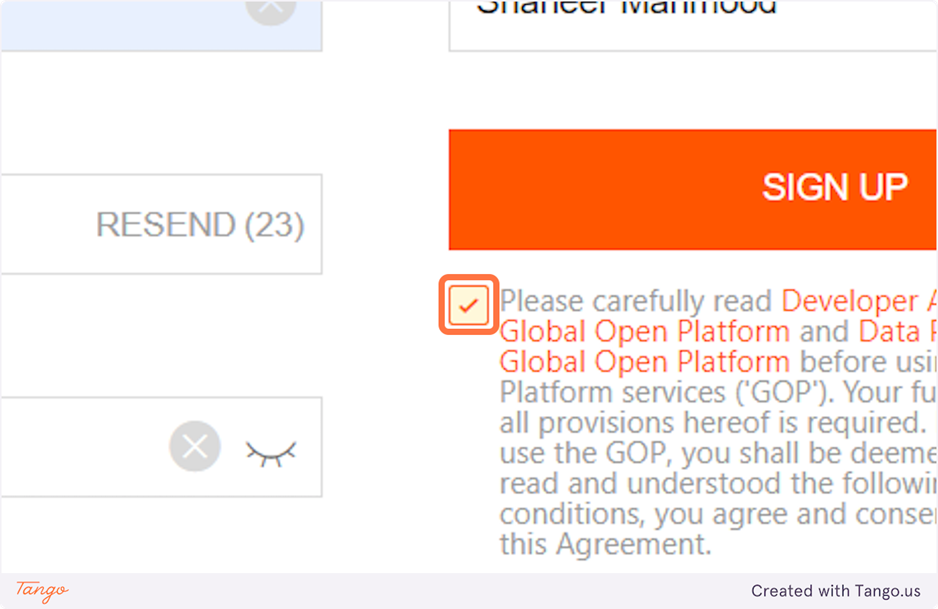
7. Check Please carefully read Developer Agreement of Global Open Platform and Data Protection Policy of Global Open Platform before using Global Open Platform services ('GOP'). Your full compliance with all provisions hereof is required. By proceeding to use the GOP, you shall be d…
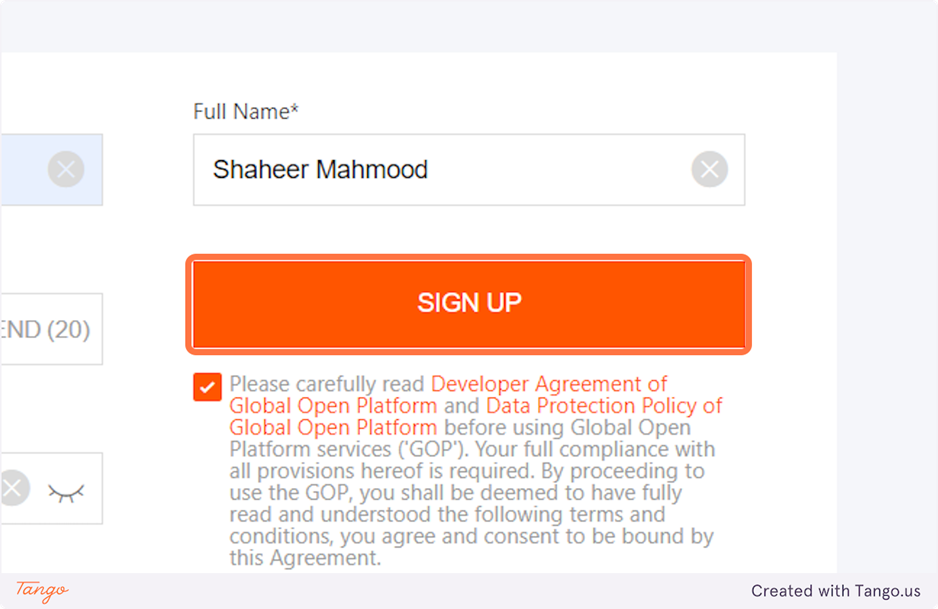
8. Click on SIGN UP
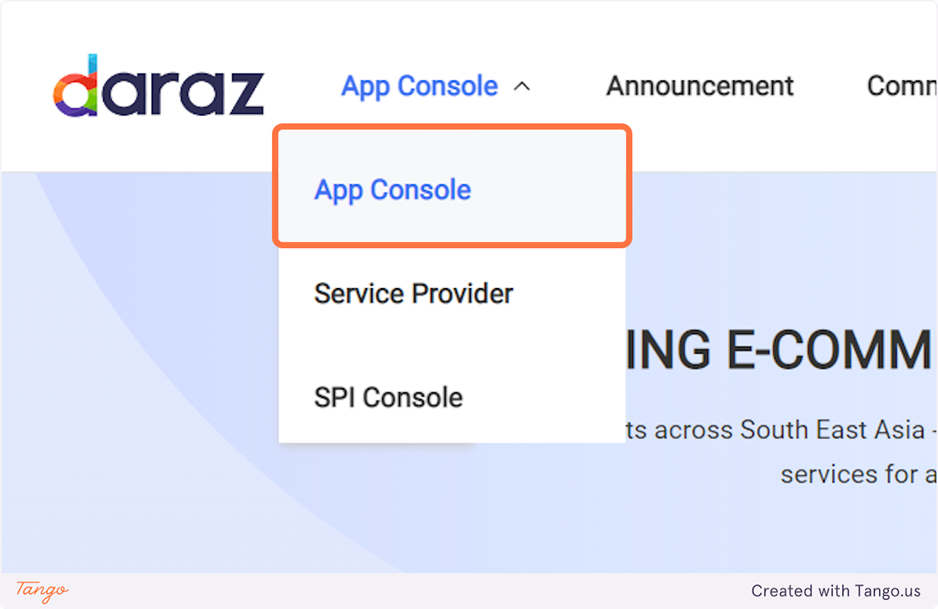
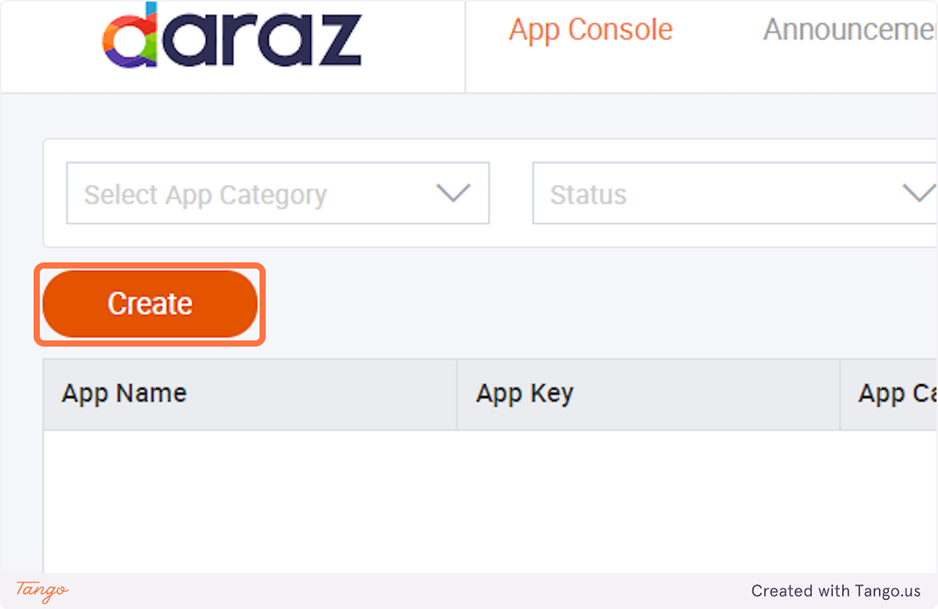
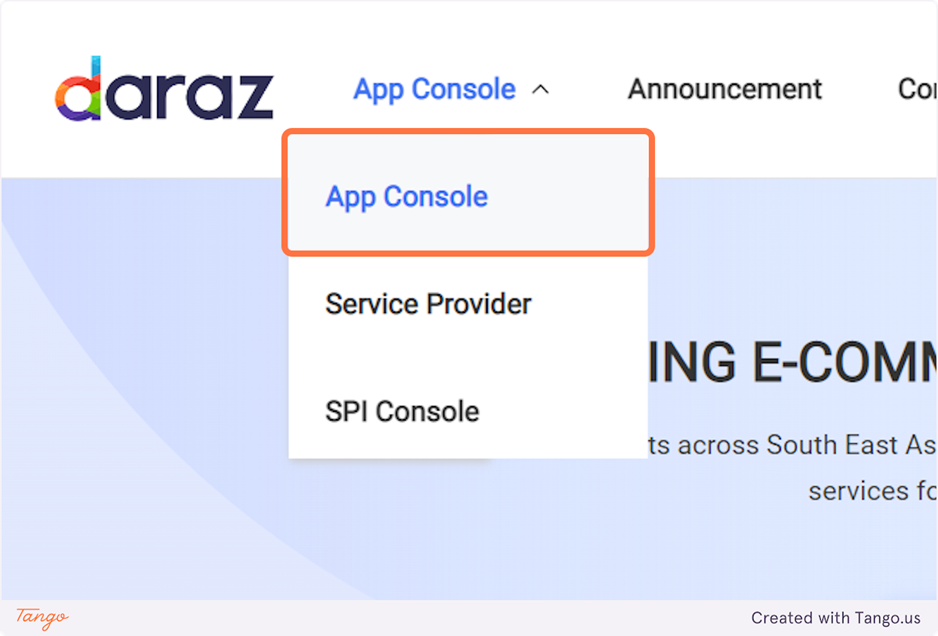
9. After you have successfully created an account Click on App Console
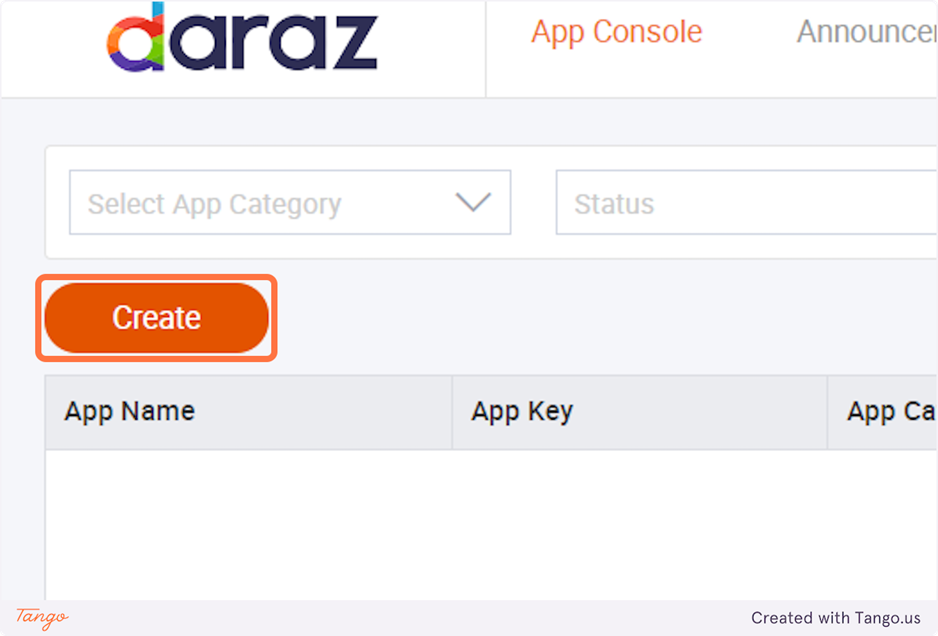
10. Click on Create button to create a new App
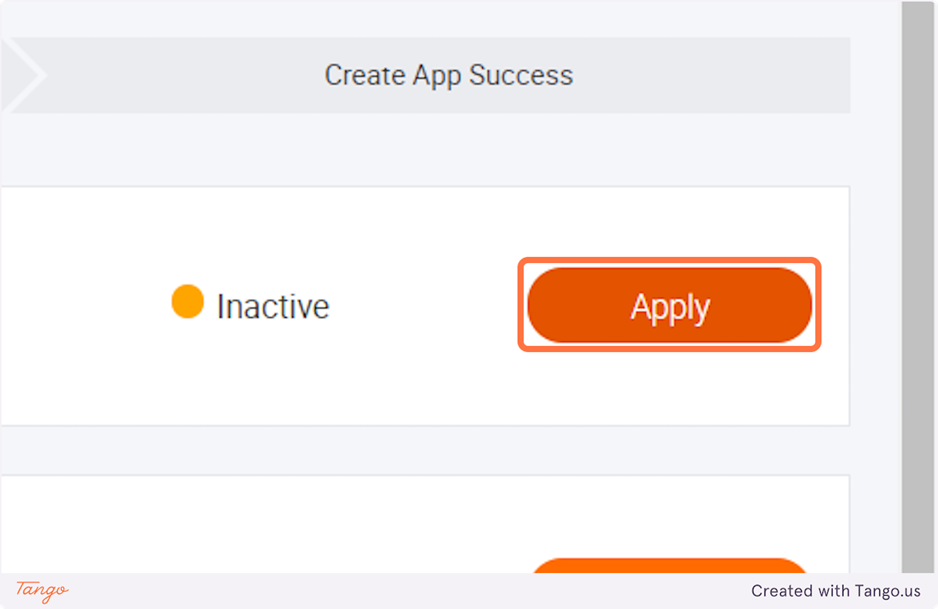
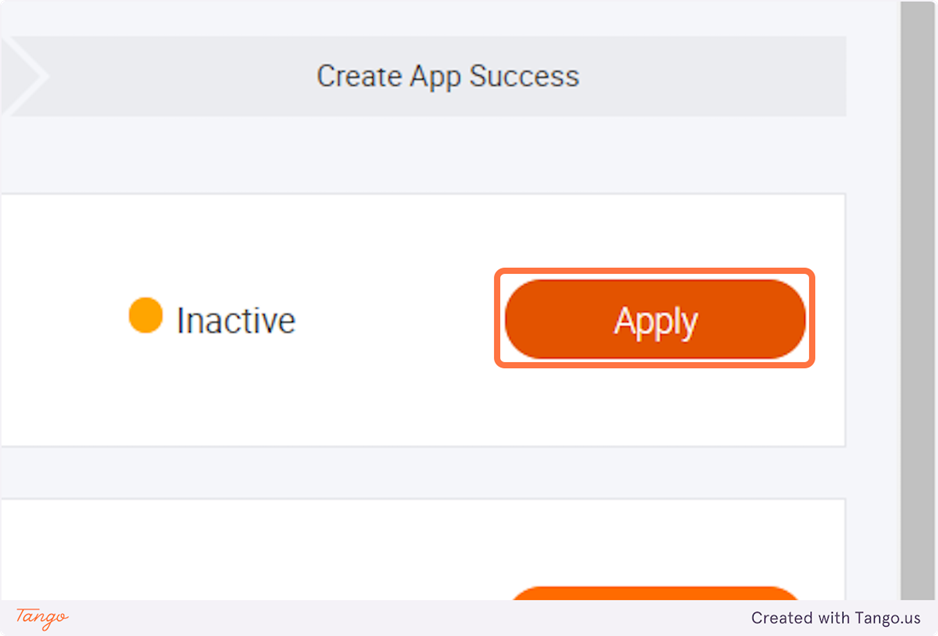
11. There will be 4 option to choose from, Click Apply on the ERP option
12. If you're applying for the first time, you need to get your account approved. Click ok on the Pop-up

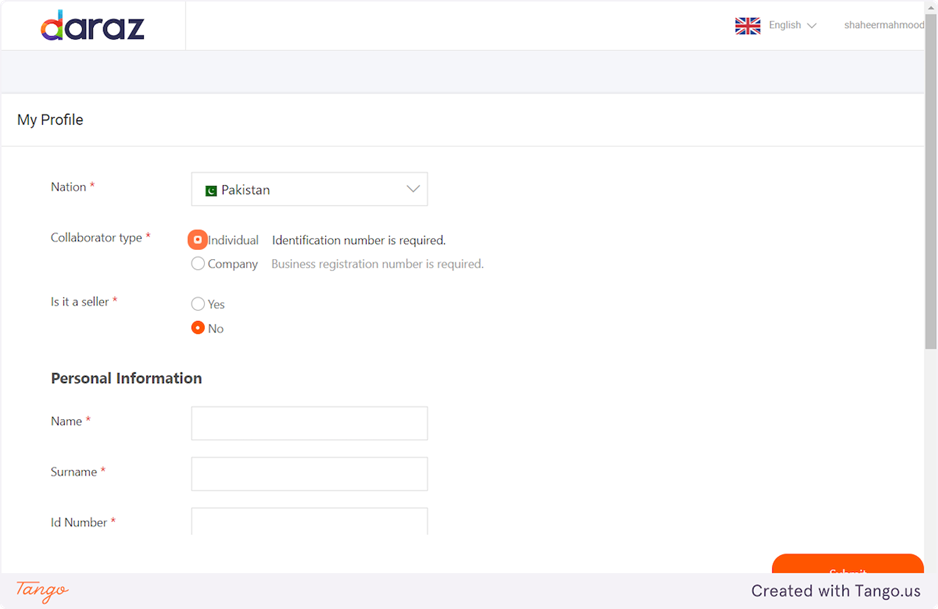
13. Fill in the Relevant detail
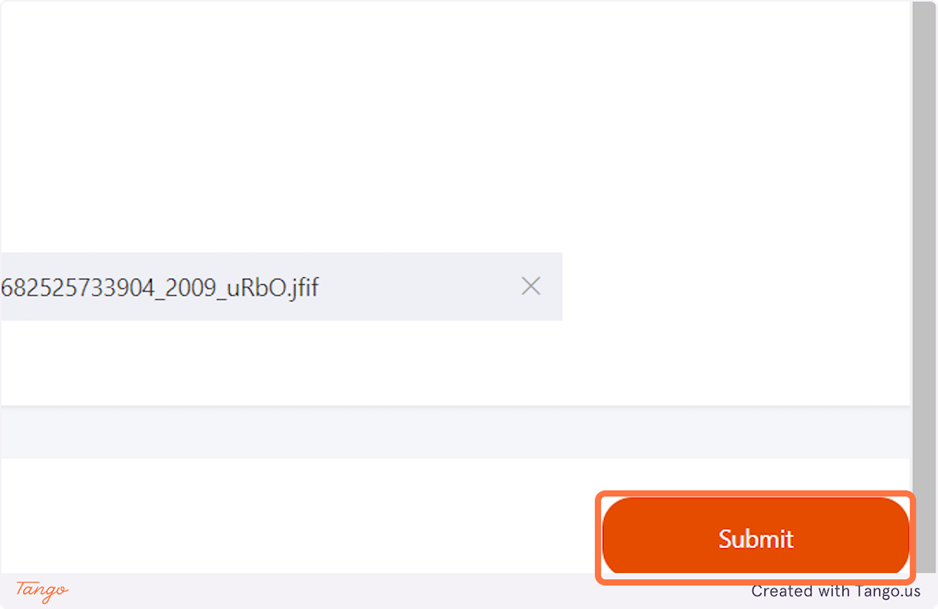
14. Upload the identification document
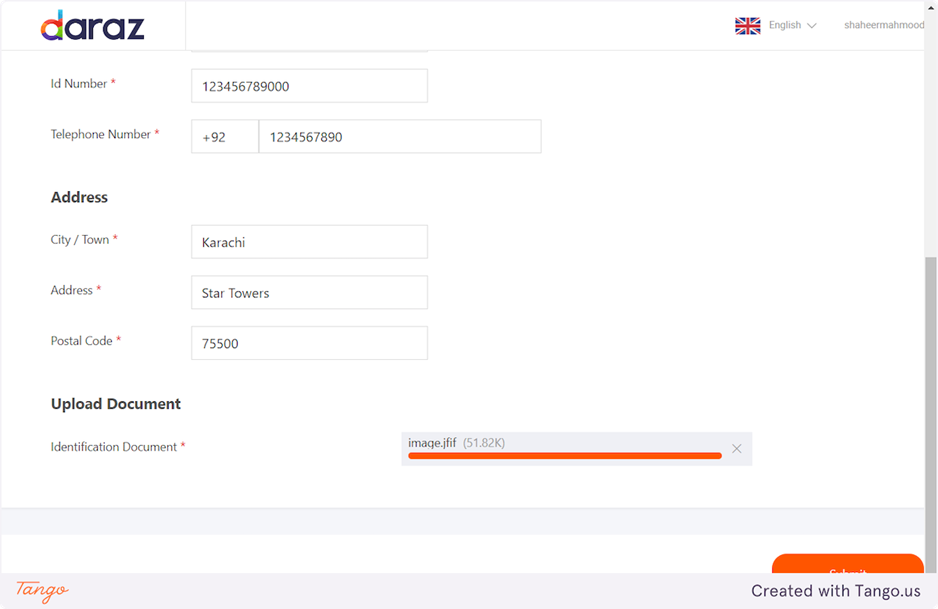
15. Click on Submit
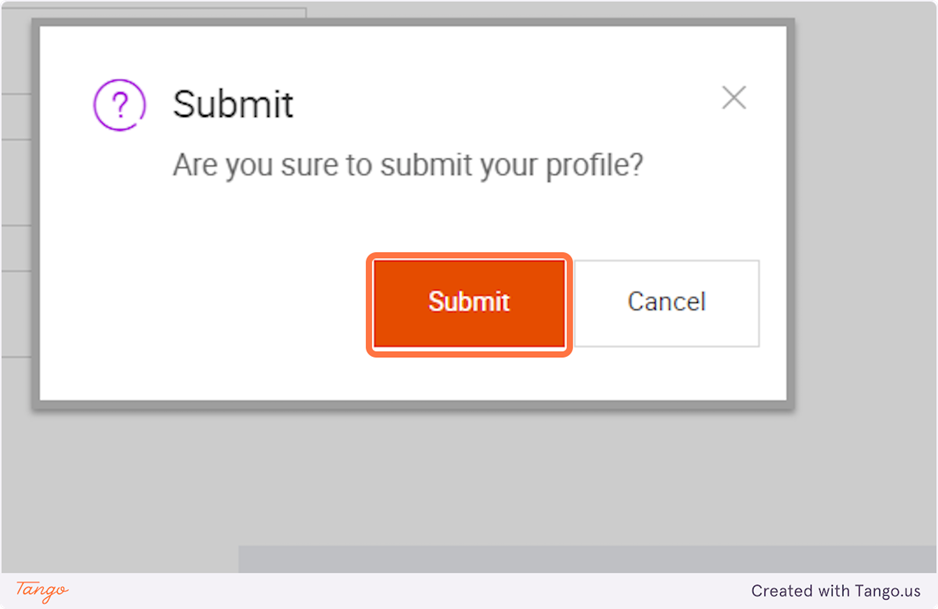
16. Click on Submit on the pop-up
17. After your account is approved, click on App Console
18. Click on Create
19. Click on Apply on the ERP option
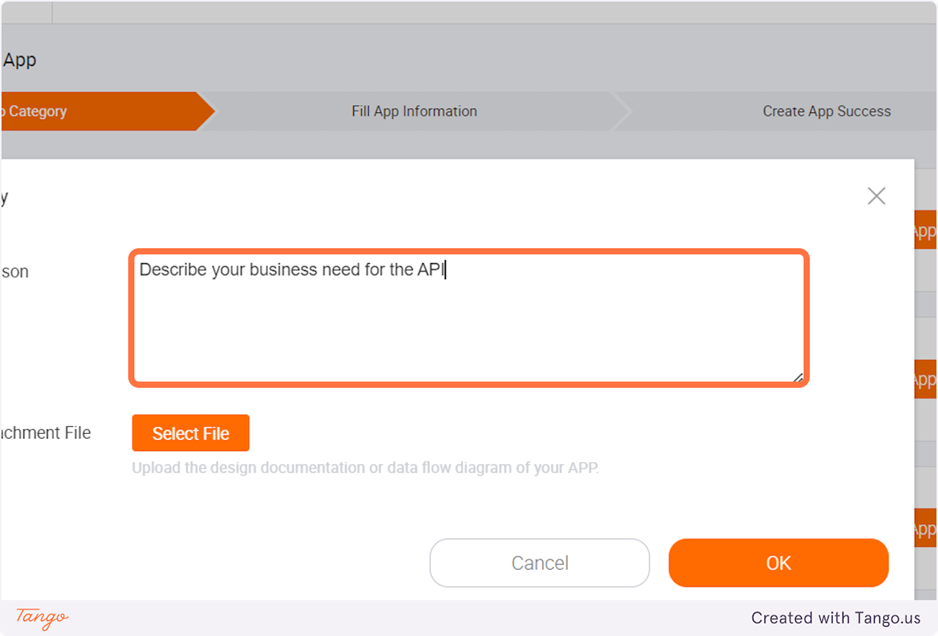
20. Describe your business need for the API
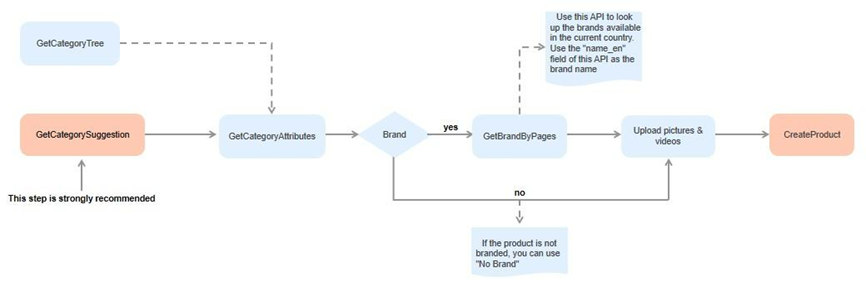
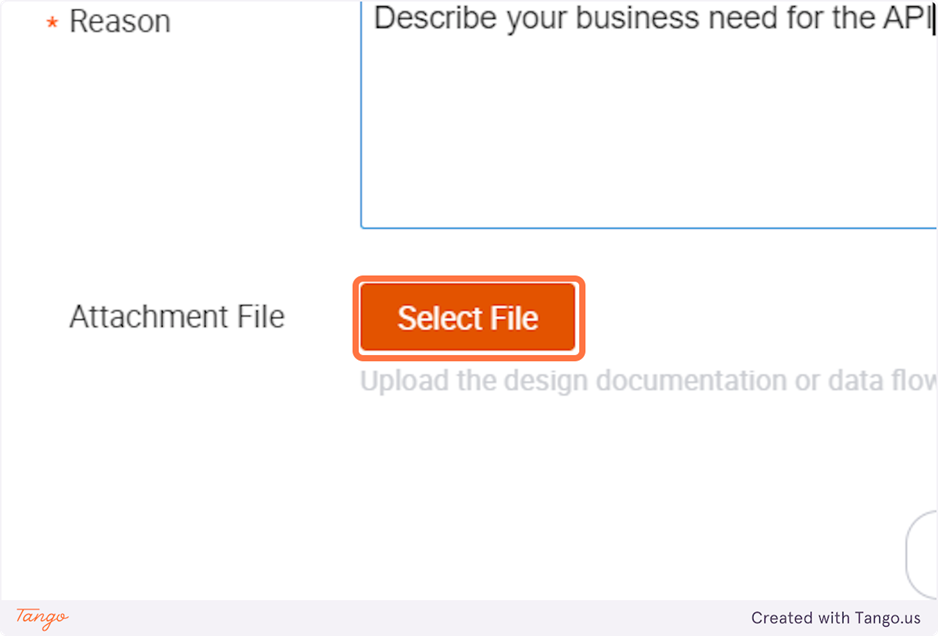
21. Attach a diagram in JPG or PNG format, that describes the workflow of your App
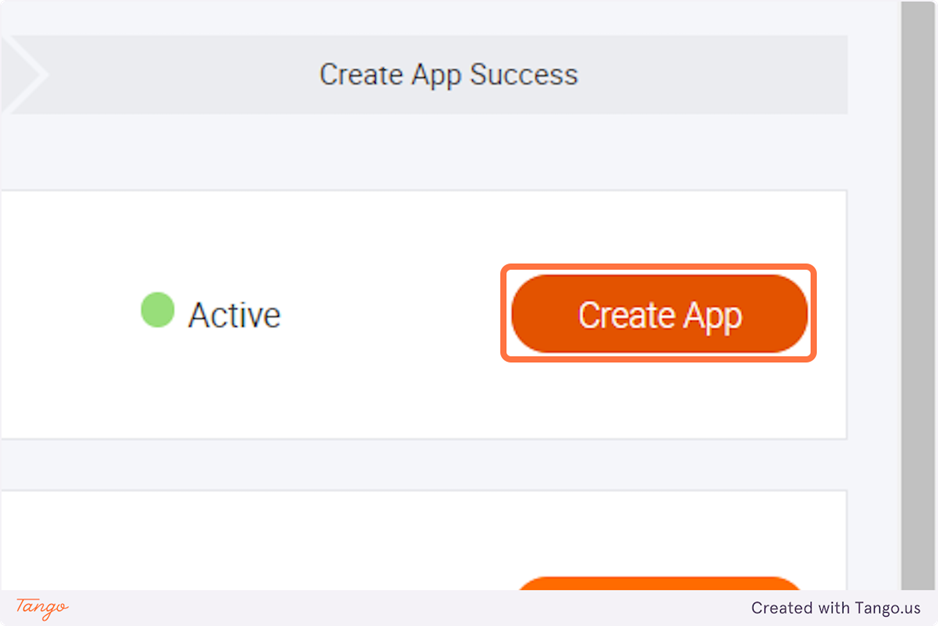
22. Click on Create App
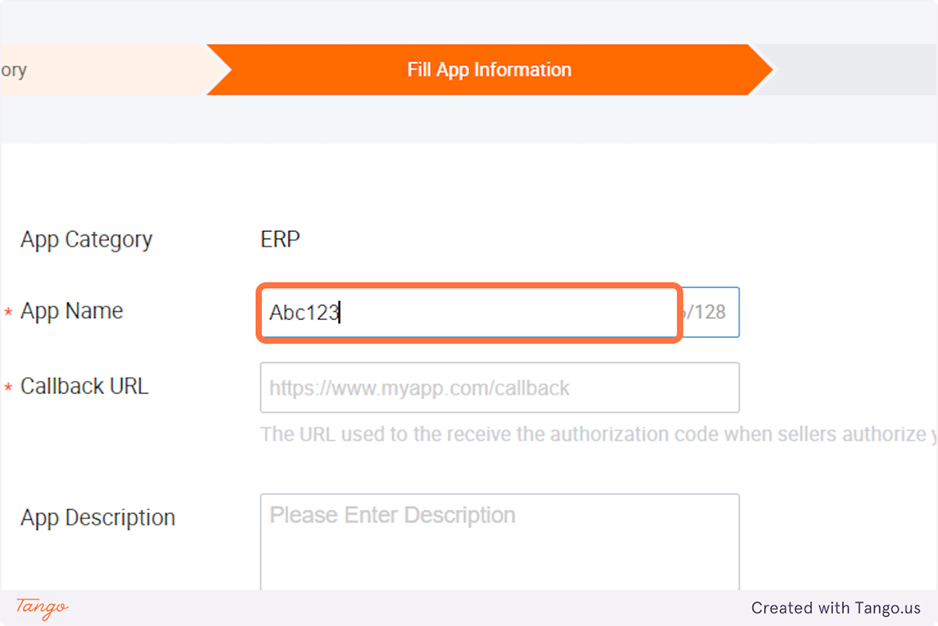
23. Type in the App Name
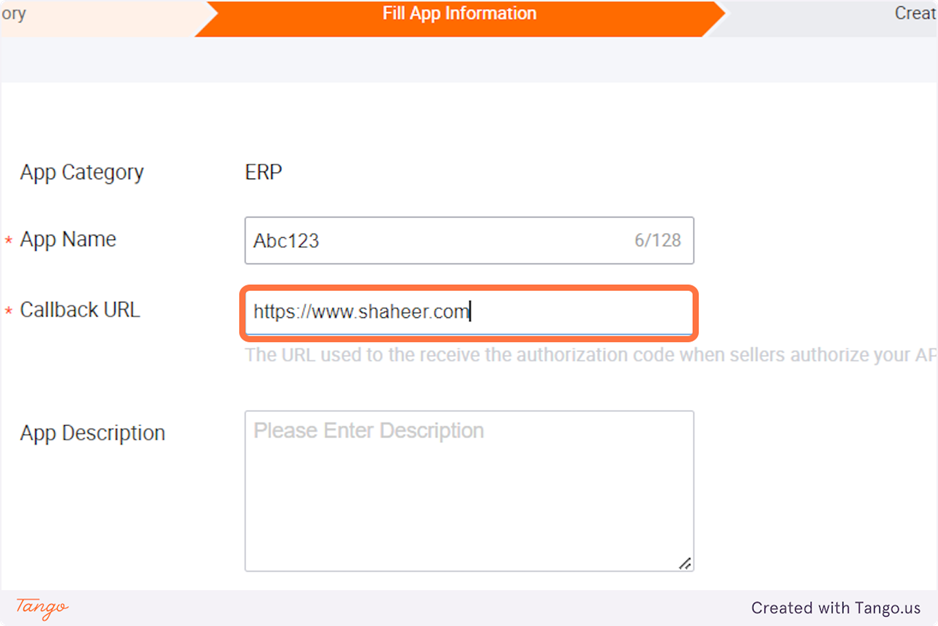
24. Add the Callback URL
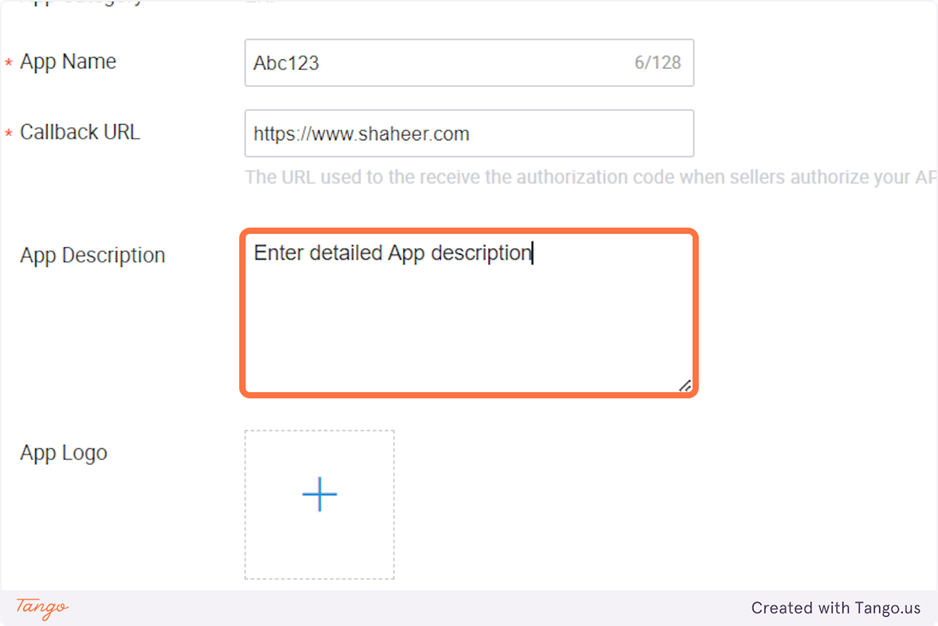
25. Enter detailed App description
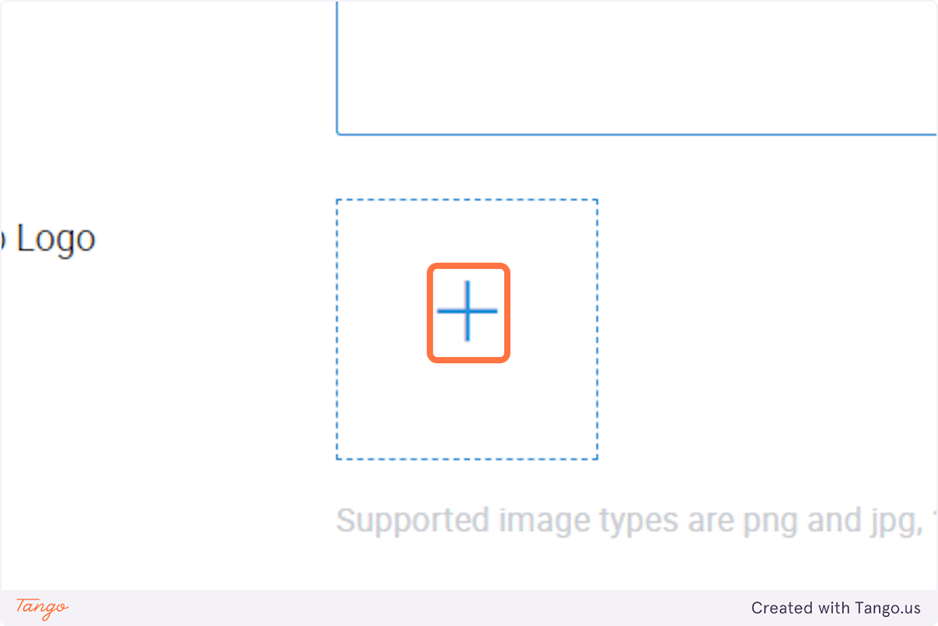
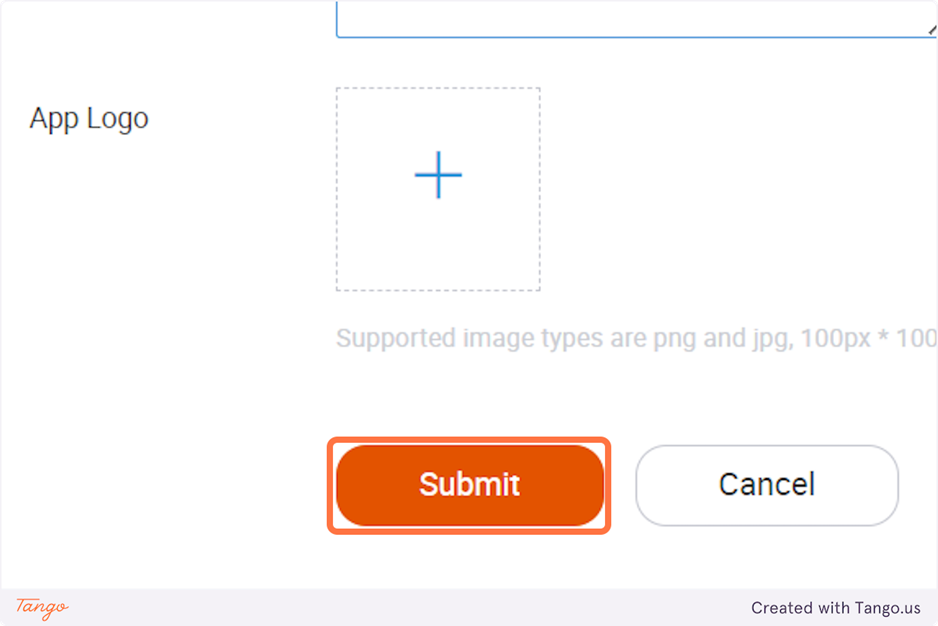
26. Upload the App Log
27. After successfully adding all the information Click on Submit
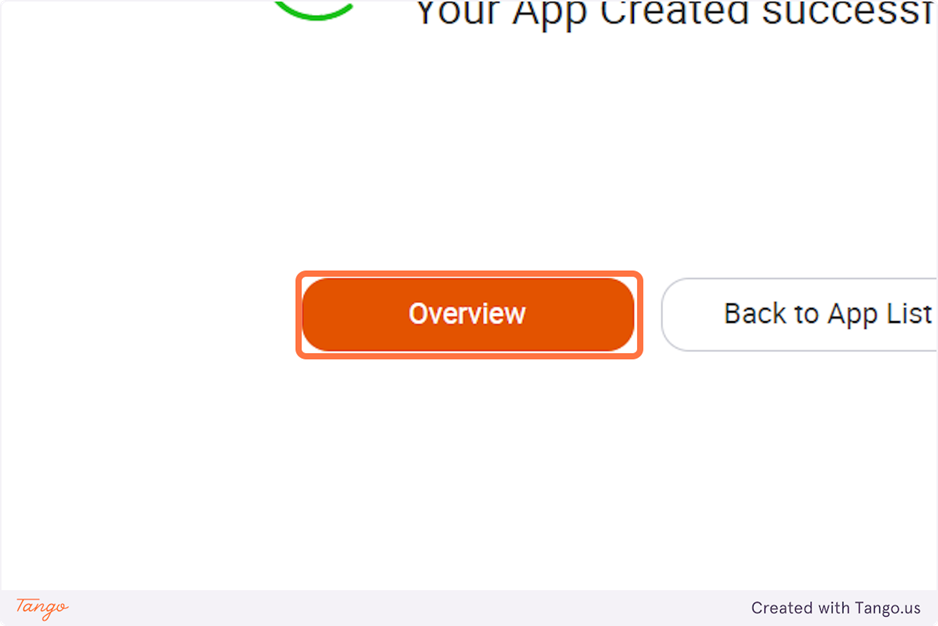
28. Click on Overview on the Pop-up that appears
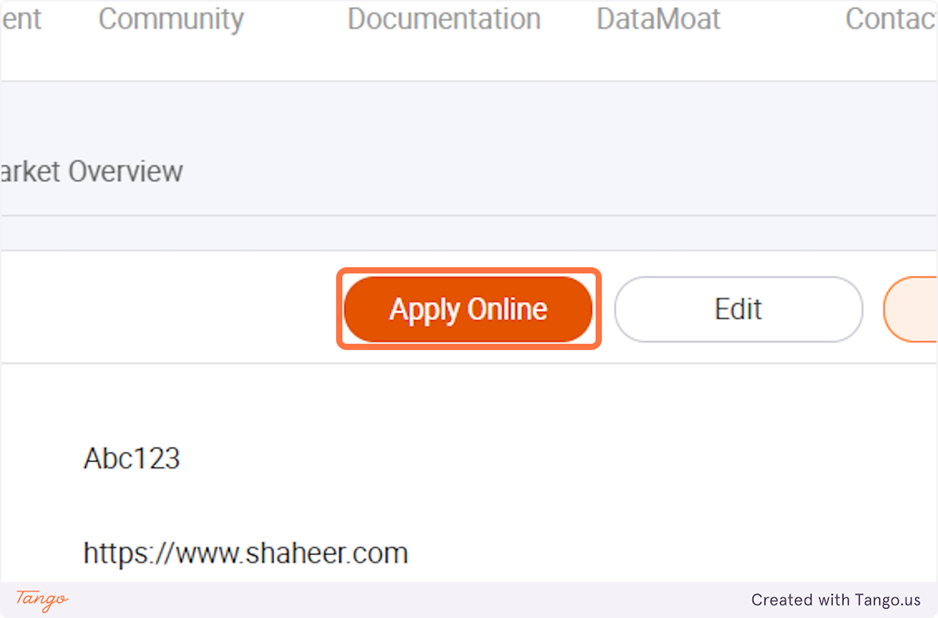
29. Click on Apply Online
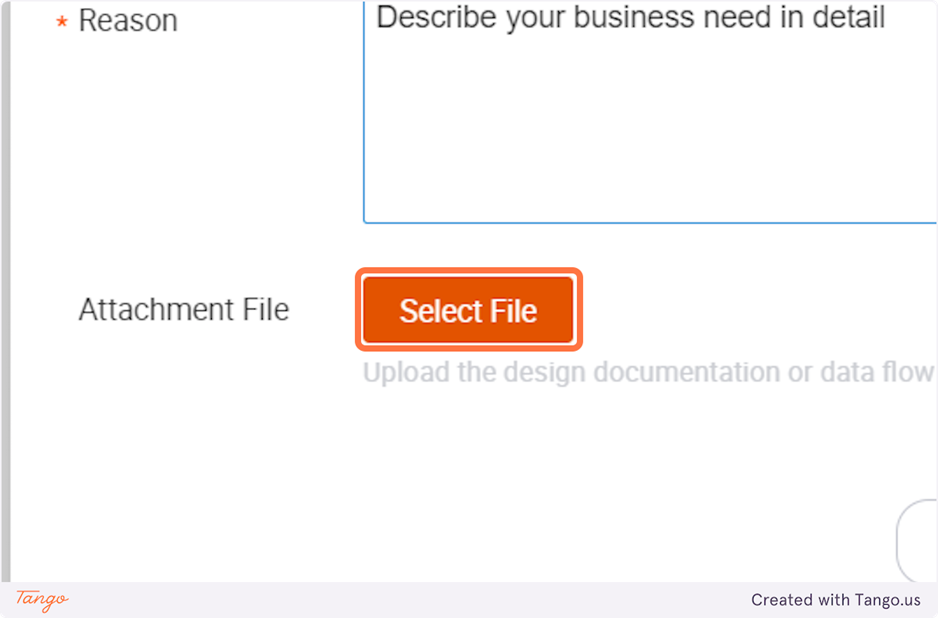
30. Describe your business needs in detail
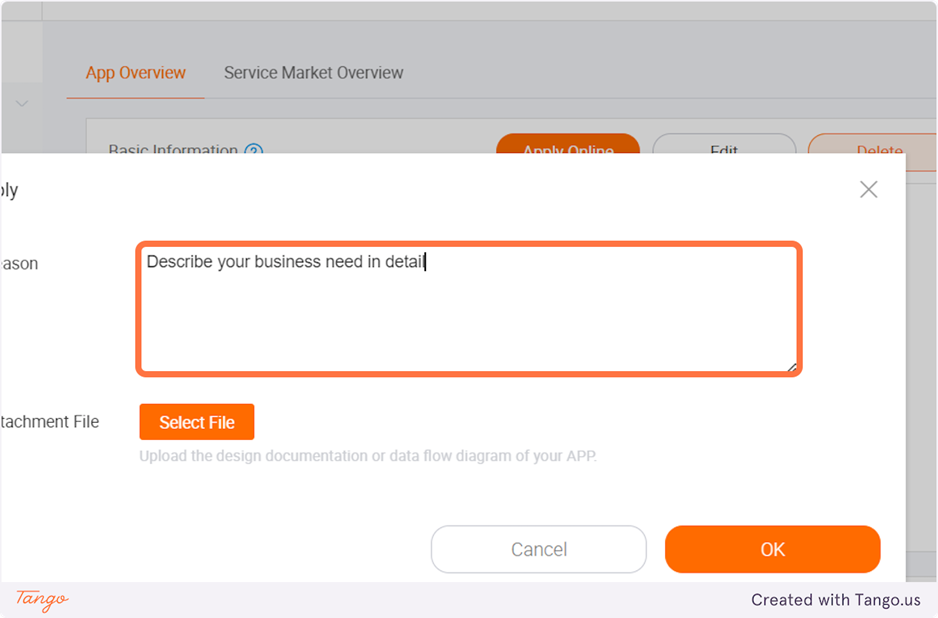
31. Click on Select File, to upload a diagram that best describes a data flow
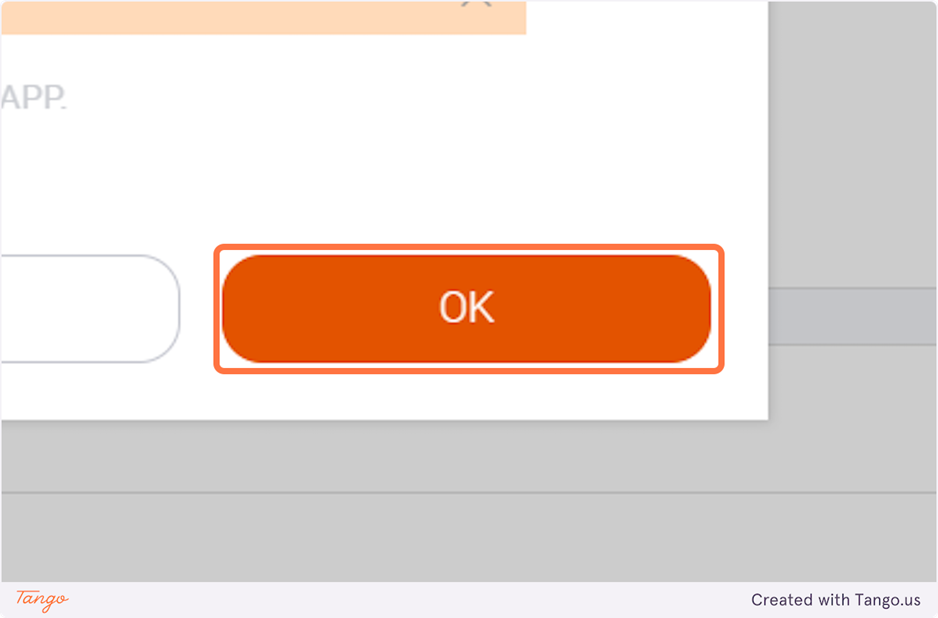
32. Click on OK
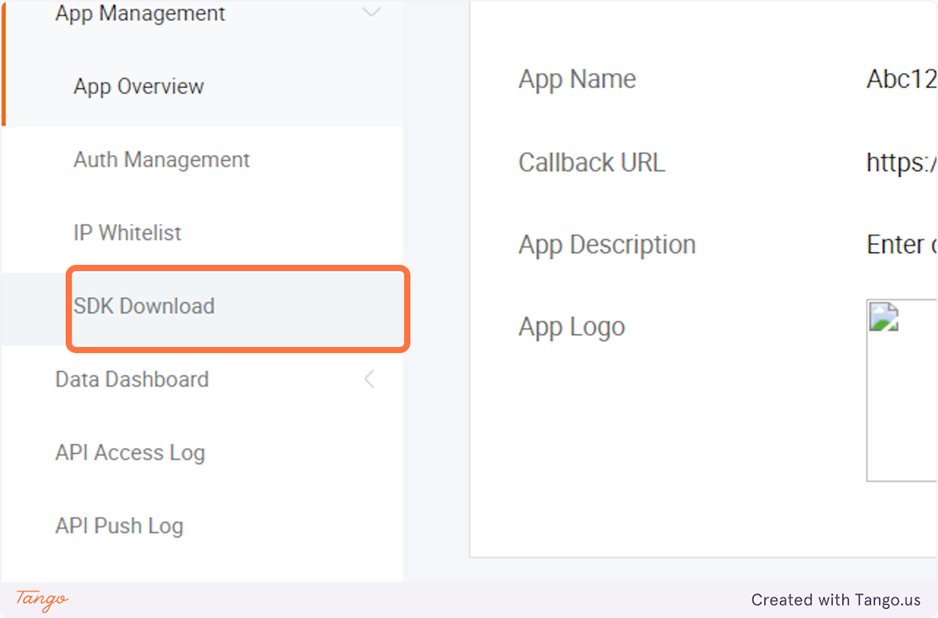
33. Click on SDK Download
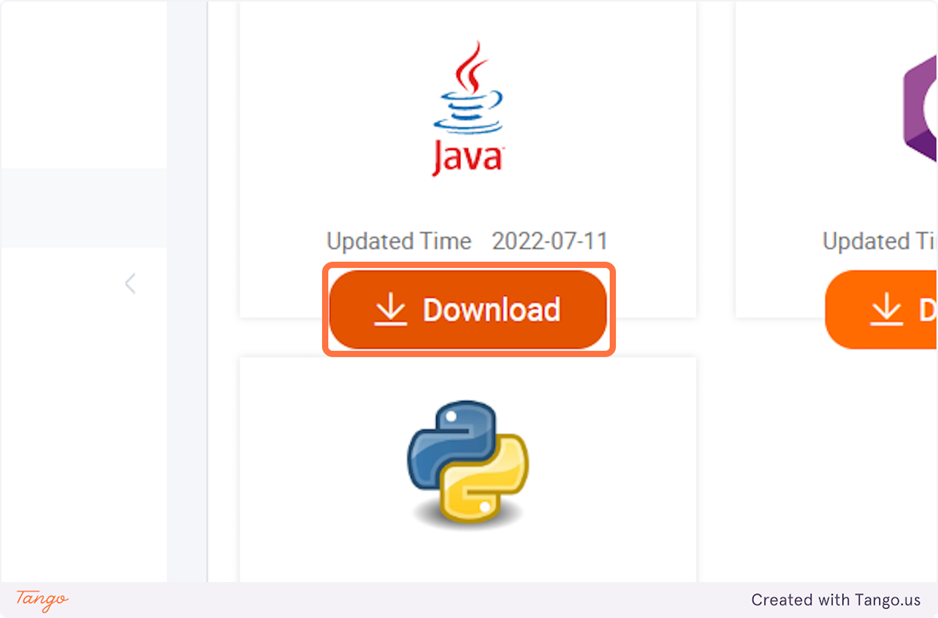
34. Download the SDK in the programming language that you prefer
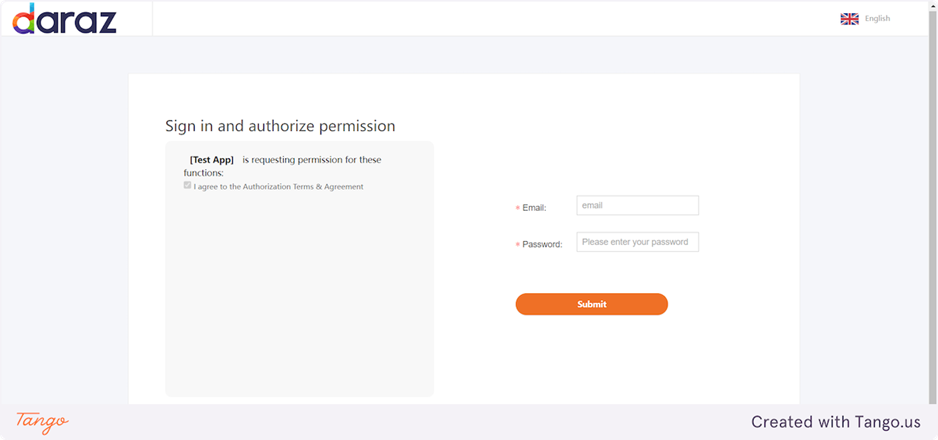
35. Seller authorization The figure below shows the flow of the authorization steps:
Sample link for Concatenate authorization:
PK:
https://api.daraz.pk/oauth/authorize?response_type=code&force_auth=true&redirect_uri=${ app call back url}&client_id=${appkey}
BD:
https://api.daraz.com.bd/oauth/authorize?response_type=code&force_auth=true&redirect_uri=${ app call back url}&client_id=${appkey}
LK:
https://api.daraz.lk/oauth/authorize?response_type=code&force_auth=true&redirect_uri=${ app call back url}&client_id=${appkey}
NP:
https://api.daraz.com.np/oauth/authorize?response_type=code&force_auth=true&redirect_uri=${ app call back url}&client_id=${appkey}
MM:
https://api.shop.com.mm/oauth/authorize?response_type=code&force_auth=true&redirect_uri=${app call back url}&client_id=${appkey}
Note that the “client_id” and “redirect_uri” should be replaced with the ones of your own application.
The appkey can be viewed by clicking on App Console, then clicking on manage on the action column

36. Guide sellers to authorize
37. Once the seller completes the authorization process, Daraz Open Platform will send the authorization code to the callback URL provided. Your application can retrieve this code and use it to obtain the Access Token needed for further API calls.
Sample Code
Note: This authorization code will expire within 30 minutes. You need to use this code to get the access token before it expires.

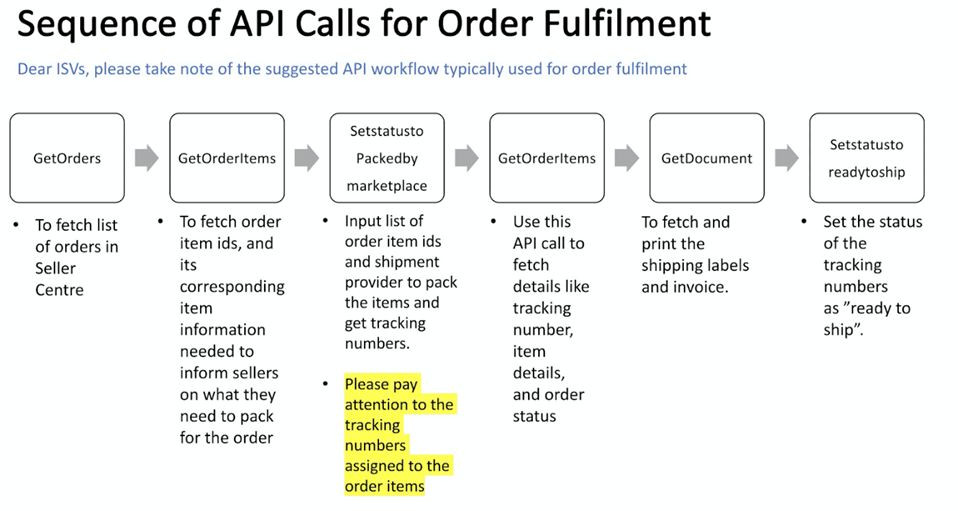
38. Guidance for Order API
39. Guidance for Product API